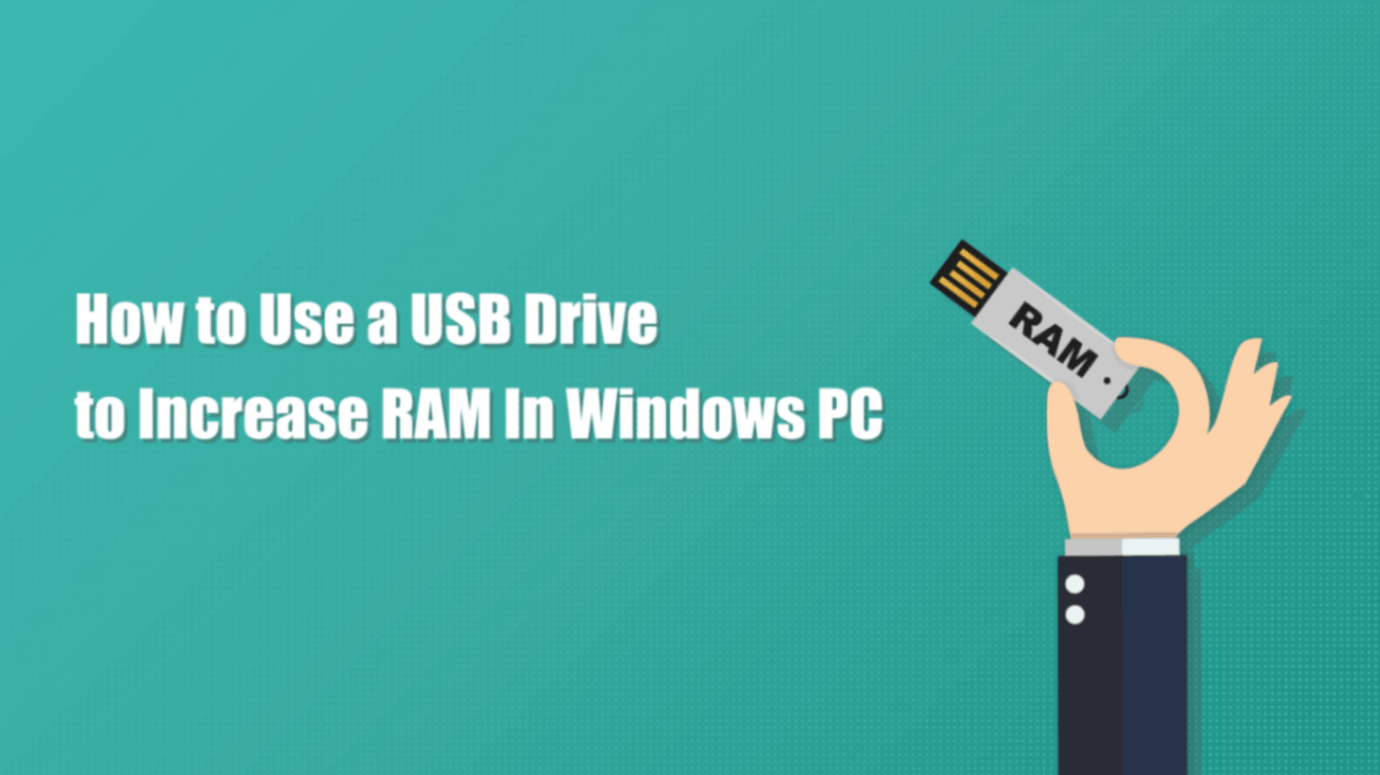
How To Use a USB Drive To Increase RAM in Windows PC
Random Access Memory, or RAM, is a crucial component of computer usage. While many users don't think about RAM often, your productivity can halt when your PC reaches its limit. Buying new physical RAM sticks is not always an option, especially if your machine is not manufactured with upgradable parts in mind. Luckily, here at USB Memory Direct, we know of a trick that anyone can use to increase the virtual RAM of their current setup, provided there is an open USB slot on the device.
Browse Our Expansive Selection of USB-C Drives
Things To Consider: Windows Version

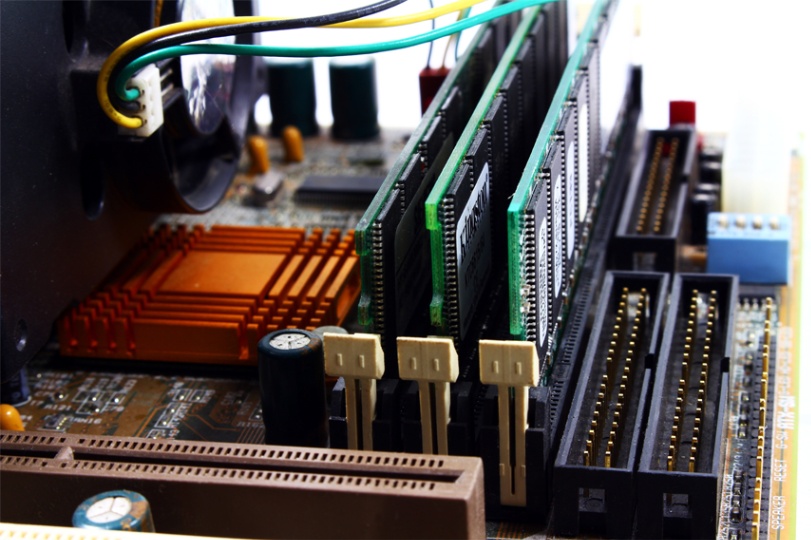
First things first, there are two types of RAM that your Windows PC can take advantage of physical RAM and virtual memory.
Physical RAM is the base memory storage that comes with a machine. You often need a certain amount of physical memory to effectively run demanding programs such as games or video editing software. Virtual memory is used to prevent hardware crashes due to breaking the intrinsic performance limit of a device.
Virtual memory kicks in if the PC nears its physical RAM limit. While not as powerful as its physical counterpart, virtual RAM will allow you to run multiple programs and keep several internet browser tabs open simultaneously. Since virtual RAM is flexible by design, you can temporarily increase your computer's memory without having to open up the machine and install new RAM sticks in the back. Follow the steps below to extend your device's virtual memory.
Step #1: Access Your PC's System Properties Menu
- Insert your flash drive into any open port on your Windows PC.
- Open the File Explorer tab by clicking the folder icon on the taskbar at the bottom of the screen.
- Right-click on This PC on the left-hand side of the file explorer tab.
- Choose Properties from the drop-down menu to summon the control panel.
Step #2: Manage Performance in the Advanced Tab
- In the control panel, click on Advanced System Settings on the left side of the screen.
- On the new page that appears, click the Advanced tab located on the topmost bar of buttons.
- Look for the Performance section and click on Settings to complete this step.
Step #3: Add your USB Flash Drive to Virtual Memory
- Click on the Advanced tab of the performance options.
- Look for the Virtual memory section and click on Change to begin the process.
- Be sure to uncheck the box that says Automatically manage packing sizes for all drives so you can manually enter your desired parameters.
- Select your USB stick from the list of available drives.
- Click on Custom size and enter your flash drive's maximum and minimum paging values. Your minimum can be set to anything, whereas you need to ensure the maximum does not exceed the storage capacity of your flash drive.
- Double-check the specs of your drive before clicking Apply. Doing so will finalize any changes made to your virtual memory allotment.
Step #4: Restart Your Windows PC

For your changes to take effect, you must restart your system. Either powering cycling or restarting your system will suffice, so choose your preferred method of rebooting the device.
Click Here for Savings on Bulk Flash Drives
Keep Your Device Memory in Check
Sufficient memory is required for any Windows PC to run effectively. Taking the time to view the RAM and storage capacity requirements of any apps you install will help you avoid PC slowdown or outright crashes. If your system has plenty of RAM for the task at hand, double-check your overall storage capacity. As your hard drive approaches its maximum threshold, it takes longer for the processor to sort through all your files. A lack of remaining space will also slow your PC to a crawl. Increase your RAM to avoid a situation like this. Think of your PC as you would a physical room in your home. A consistent practice of cleaning out what you no longer need will prevent undue problems from rearing their head.