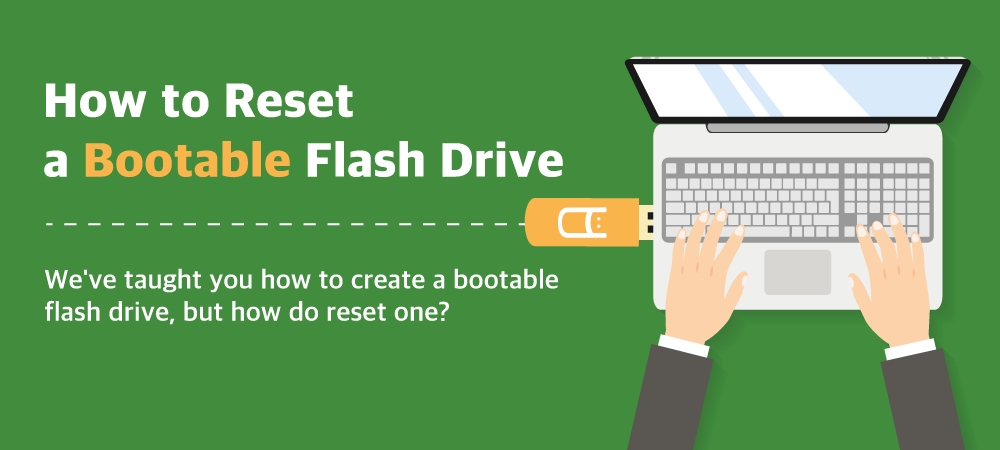
How to Reset a Bootable USB
Jump to the meat and potatoes.
The bootable USB drive is one of the most useful low cost tools in IT today. A bootable USB packs an entire operating system onto a single USB flash drive, along with the necessary files for basic tasks.
The applications are endless. You might use a bootable USB to do a system recovery in an emergency or store a backup image of your disk drive. Or you might take it with you so you always have access to your favorite OS and applications, even when you're using an unfamiliar computer.
In another article, we showed you how to create a bootable USB drive. Today, we're going to show you the opposite process: how to reset a bootable USB and turn it into a USB flash drive with a clean slate.
Basics of Resetting a Bootable USB
The main reason to reset a bootable USB is that you need the flash drive for something else. You might choose to install a different OS on your bootable USB, or you might decide that you want to turn it back into a standard flash drive. (Maybe the drive is a really cool custom USB drive that you just can't bear to part with!)
Whatever your reasons for resetting a bootable USB, you'll need to reformat the drive, clear the current files from it, and create new partitions. That might sound like a lot, but it's actually a pretty simple process.
Both Windows and macOS include built-in tools to work with file volumes and partitions. Thus, it's pretty easy to reset a bootable USB yourself, and that's what we're going to show you how to do next.
How to Reset a Bootable USB: Step by Step
IMPORTANT: Before you start any of these processes, it's essential to back up any files you want to keep from your bootable USB. This process will delete all of those files, and you may not be able to recover them if you decide you want them later.
Windows: File Explorer and Command Line
Windows offers several utilities that can get the job done, including PowerShell, but the most common way is through Command Line.
- Plug your flash drive into your PC's USB port.
- Open Command Prompt on your PC. (Type "cmd" in your Search bar to get there quickly.)
- Type the command "diskpart" and press Enter. This takes you to the Disk Partition utility.
- Type the command "list disk" and press Enter. A list will pop up with all of the disks that are currently connected to your PC.
- Determine which disk is your USB drive by looking at its file storage capacity.
- Type "select drive x" replacing x with the number of your drive. Be very careful with this part -- choosing the wrong number could wipe out your main hard drive. Press Enter.
- Type "Clean" and press Enter to delete all files and partitions from the drive.
- Type "Create Primary Partition" and press Enter to create a new primary partition for your USB flash drive.
- Type "Active" and press Enter to make this partition your active partition.
- Type the command "Format FS=NTFS Quick." This will reformat your USB drive to use the NTFS file system. NTFS is the standard choice for PC users, but anyone who switches between Mac and PC might want to choose an alternative like FAT32 or xFAT.
- Wait for the computer to format your USB drive.
- When the drive has reached 100%, type "Exit" and press Enter. Eject your USB drive.
macOS: Disk Utility
- Plug your flash drive into your Mac's USB port. (If you have a newer Mac without USB-A ports, you might be using a USB-C flash drive.)
- Launch Disk Utility from Spotlight or your Applications folder. You'll see all of your currently mounted disks listed in the window that pops up.
- Find and select your USB flash drive. Click the "Erase" tab in the window to show options for erasing the flash drive.
- You'll have to choose a file system (such as FAT32 or HFS+) to format on the new USB drive, as well as choosing a name for the drive.
- Click Erase to erase the drive's contents and reformat it.
- Wait until Disk Utility tells you the process is finished, then eject your flash drive.
USB Memory Direct is your one-stop source for bulk flash drives and custom flash drives. On our blog, we also give you insights, pro tips and occasional bad jokes about how to use USB flash drives in your life. Check out our guide to USB-A vs. USB-C for the low-down on the next evolution in the story of the USB drive.