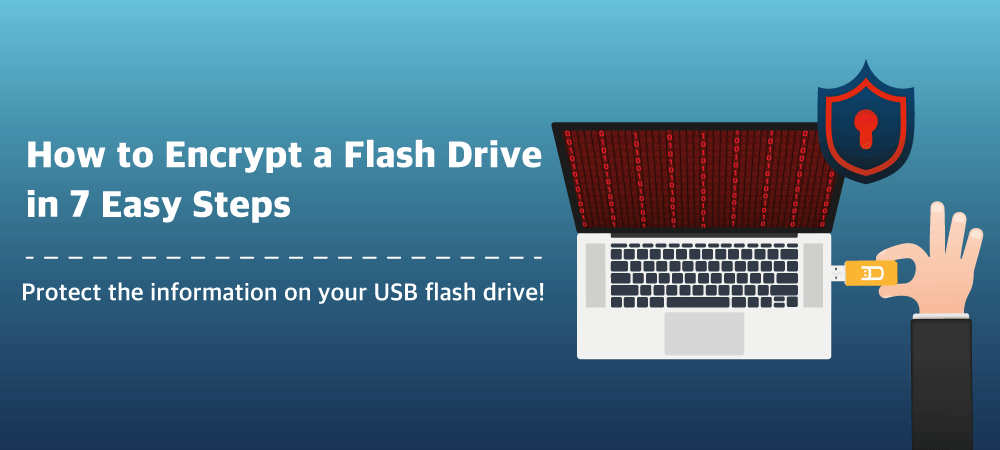
How to Encrypt a Flash Drive in 7 Easy Steps
Security is a critical part of living our digital lives in the 21st century. We use passwords and biometric scanners to protect our phones, our credit and debit cards, our computers and pretty much anything we'd rather not have people snooping through. But what about USB flash drives?
While you can't unlock a USB drive with a thumbprint (yet), there are some simple and powerful encryption tools available to make your USB flash drive more secure. Here, we'll talk about what they are and how to use them.
What Is Encryption?
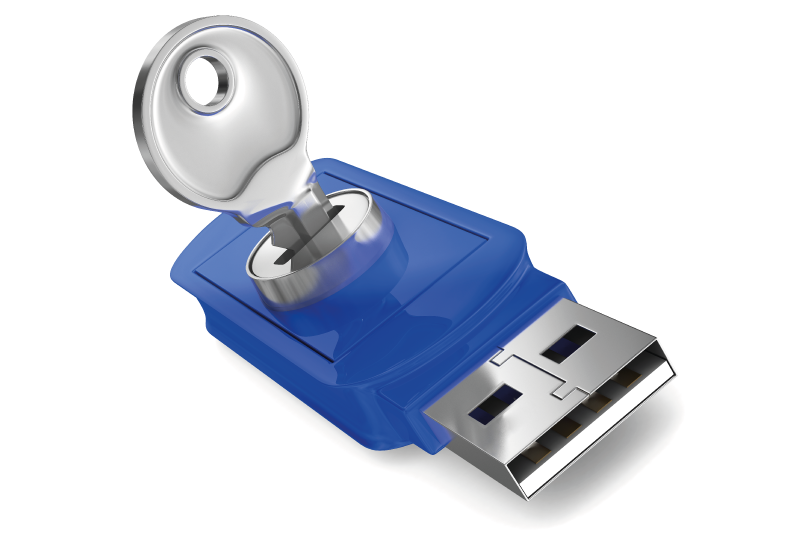
Encryption is the process of using a cryptographic algorithm to scramble your data into an unreadable form. If a user has the right encryption key, their device can unscramble the data into a usable format. Without the key, the data is useless.
Many different flavors of encryption are available today - some more secure than others. Because encryption has become such a popular and important security tool, both Windows and Mac now include built-in applications to encrypt storage devices.
Why Encrypt Your Flash Drive?
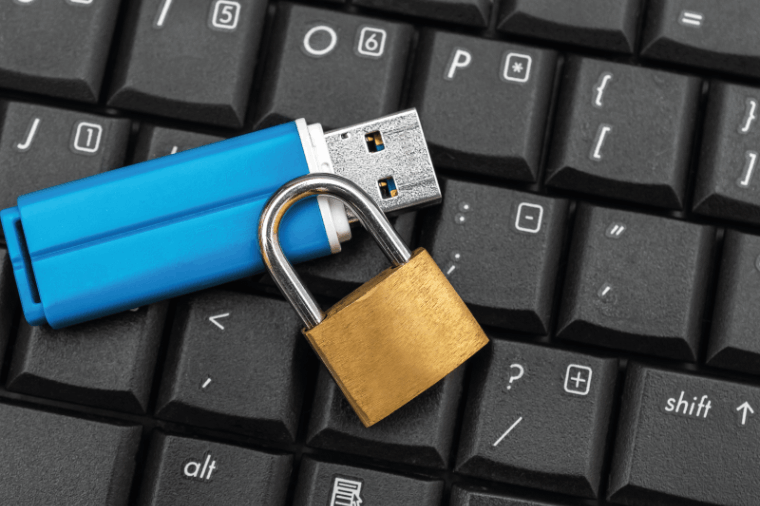
The main reason to encrypt a flash drive is to prevent unauthorized users from viewing the data stored on it. If your flash drive gets lost or stolen, anyone could pop it into a USB port and view the data stored on it - unless it's encrypted, that is.
No matter what's on your drive, it's never a bad idea to give yourself improved privacy through encryption! However, encryption is a must-have if the flash drive contains things such as:
- Login credentials
- Personal information
- Corporate documents
- Cryptocurrency keys
- Medical records
Now that we know why USB encryption can be so important, let's talk about how to do it.
Promote Your Business with Professional USB Cards
Encrypting a Flash Drive on Windows 10/11
The Pro, Enterprise and Education editions of Windows 10 and 11 include a convenient encryption tool called BitLocker. (If you have the Home edition, use one of the many free encryption tools available online instead.)
Here's how to encrypt your USB drive via BitLocker:
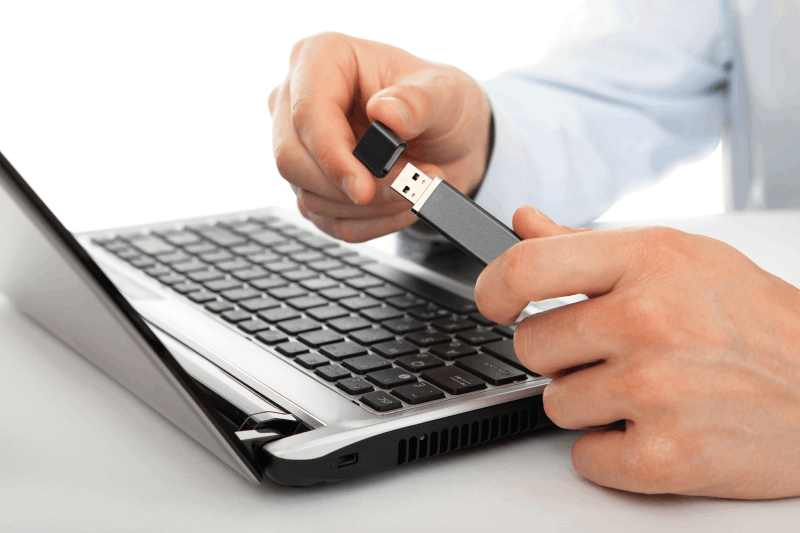
- Plug your USB drive into your PC's USB port. Locate and select your USB drive in Windows Explorer.
- Right click the drive and choose "Turn On BitLocker" from the menu.
- Choose a secure password for the drive encryption. (You can also use a Windows Smart Card if you'd like.)
- Choose where you'd like to back up your recovery key. This auto-generated key will allow you to recover your drive if you forget the password. Backing it up to your Microsoft account is a convenient option.
- Choose whether to:
- Encrypt only the data currently in use (and all data moving forward), or
- Encrypt the whole drive, including previously deleted data that might still be present in fragments
This actually has nothing to do with your flash drive size. Instead, it's about whether or not you're using a brand new drive. If your drive is new, A is usually the better option, while B is a better choice for a drive you've previously used.
- Choose to encrypt the drive in compatibility mode. This helps improve the drive's compatibility between different Windows versions.
- Click Start Encrypting and wait for the process to finish. Eject and remove your drive when you're done.
Encrypting a Flash Drive on macOS
Mac users can encrypt their flash drives using macOS Disk Utility. Note that this process involves formatting the USB drive so it will erase any data that's already on it.
To use Disk Utility:
- Plug your USB drive into your Mac's USB port.
- Back up the files from your USB drive to your computer or another storage device. Skipping this step will cause you to lose your files.
- Navigate to Applications>Utilities and open Disk Utility. Under View in the top left corner, click Show All Devices. Find and select your USB drive.
- Click Erase at the top of the window. A new window will offer you several drop-down menus. Select the following options:
- Format: Mac OS Extended (Journaled, Encrypted)
- Scheme: GUID Partition Map
- Choose a secure password and enter a password hint in case you forget.
- Click Erase. The system will erase and encrypt the drive.
- Transfer your files onto the encrypted USB drive. Eject and remove your drive.
Get a Free Quote on Your Custom Flash Drives
Once your flash drive is encrypted, it's time to put it to work! Check out our list of cool things to put on a USB drive, or read our guide to storing cryptocurrency on your flash drive. Be sure to see our full selection of USB cards and guides on how to use a flash drive to create your ultimate secure USB drive solution.