A Complete Guide On How To Use A Flash Flash Drive
While a flash drive might sound like some kind of exotic sci-fi technology ("ready the flash drive, captain!"), it's actually one of the world's most convenient and ubiquitous data storage devices. Our custom USB flash drives are just tiny hard drives that are small enough to fit on a keychain, and once you've mastered how to use them, you'll have an incredibly easy way to store and transfer files, media, and more.
Not sure how to use a flash drive? Wondering how a flash drive works and how you can use flash drives for everyday file transfer and storage tasks? You might be surprised at how easy it is! Follow along with our guide to learn all about how to use these handy little storage devices.
What Is a Flash Drive, Anyway?
A USB flash drive is a type of digital storage device designed to store files, which can be anything from text documents to multimedia files to the software. It's a little chunk of solid state memory that you can plug directly into your device's USB port to access the files contained on the flash drive. That makes it useful for all kinds of applications -- from installing new programs to sharing files to running an entire self-contained operating system.
Most people use USB drives with laptop or desktop computers, although it's also possible to use them with mobile devices like tablets or even smartphones, so long as USB ports or adapters are available. Here, we're going to look at how to use a flash drive in one of the most common applications: copying files to or from a computer's hard drive.
USB Cards: A smarter way to promote your business!
How to Use a Flash Drive in 6 Steps
Time to get down to business! We're going to show you an easy six-step process for using a USB flash drive, including how to transfer files on or off it.
1. Find your device's USB port.
On a laptop computer, your USB ports should be somewhere on the back or side of your machine. If you have a desktop, they'll be located somewhere close to the CPU, which might be on the monitor (if you have an all-in-one desktop) or on the system unit (if you have a separate one).
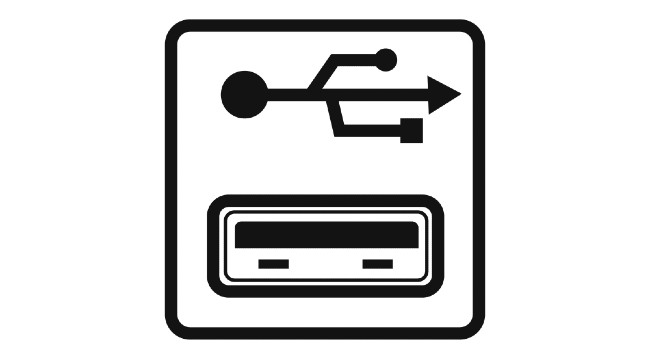
The most common type of USB port, the USB-A port, looks like this:

2. Insert the flash drive into the USB port.
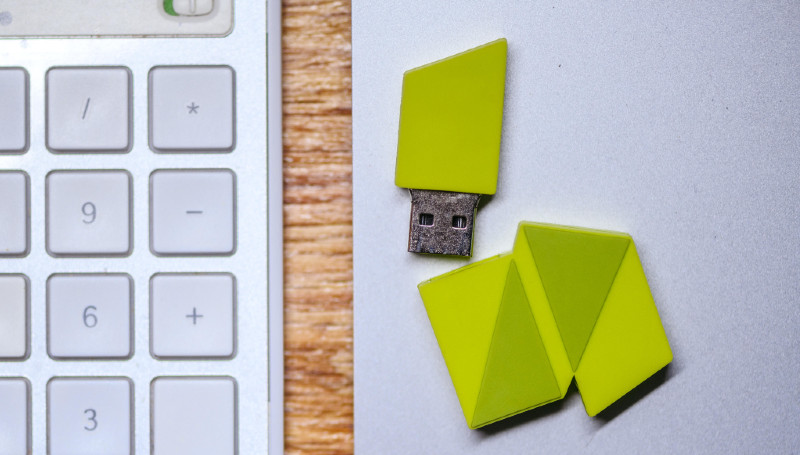
Uncap the flash drive or turn it to expose the USB connector. Make sure the connector is lined up correctly with the computer's port and slide it in. If you feel resistance, don't force it. (Lining up the USB connector can be a tougher task than you might expect, so don't despair if you get it wrong on the first try.)
3. Open the flash drive on your computer.
Once the drive is in the USB port, wait for your host device (the computer) to recognize it. In most cases, you'll get a pop-up window on your desktop telling you that the computer has found a new USB device, so click the pop-up to view the device and its files. If you don't see one, you should be able to find the device under This Mac on a Mac or This PC on a PC. At the end of this step, you should be looking at a list of files stored on the flash drive.
4. Find the file you want and move it.
Once you've navigated to the file(s) you want, it's time to move those files, either onto the drive or onto your computer. Select the files that you either want to remove from or add to the USB drive. You can either:
- Use the Cut or Copy function to get the files on your clipboard and then use the Paste function to paste them where you want them, or
- Left-click on the files, hold down the mouse button, and drag them into the folder where you want them.
5. Close all files and eject the drive.
Close any files that you're accessing directly on your computer, like a document that you might have open. Then, use the Eject command to "unmount" the drive, or cut off its connection with the computer. On a PC, you'll right-click the drive in the File Explorer window and click "Eject," while on a Mac, you'll click the button with the Eject symbol that's next to the drive in the Finder window.
6. Remove the drive from your computer.
Pull the flash drive connector out of your computer's USB port, close the flash drive, and put it away. Ta-da! That wasn't so hard, was it?

Looking for more tips on getting the most out of your USB flash drives? See our top 20 most frequently asked questions about flash drives, or browse our full selection of custom flash drives in styles that are both fun and functional.
