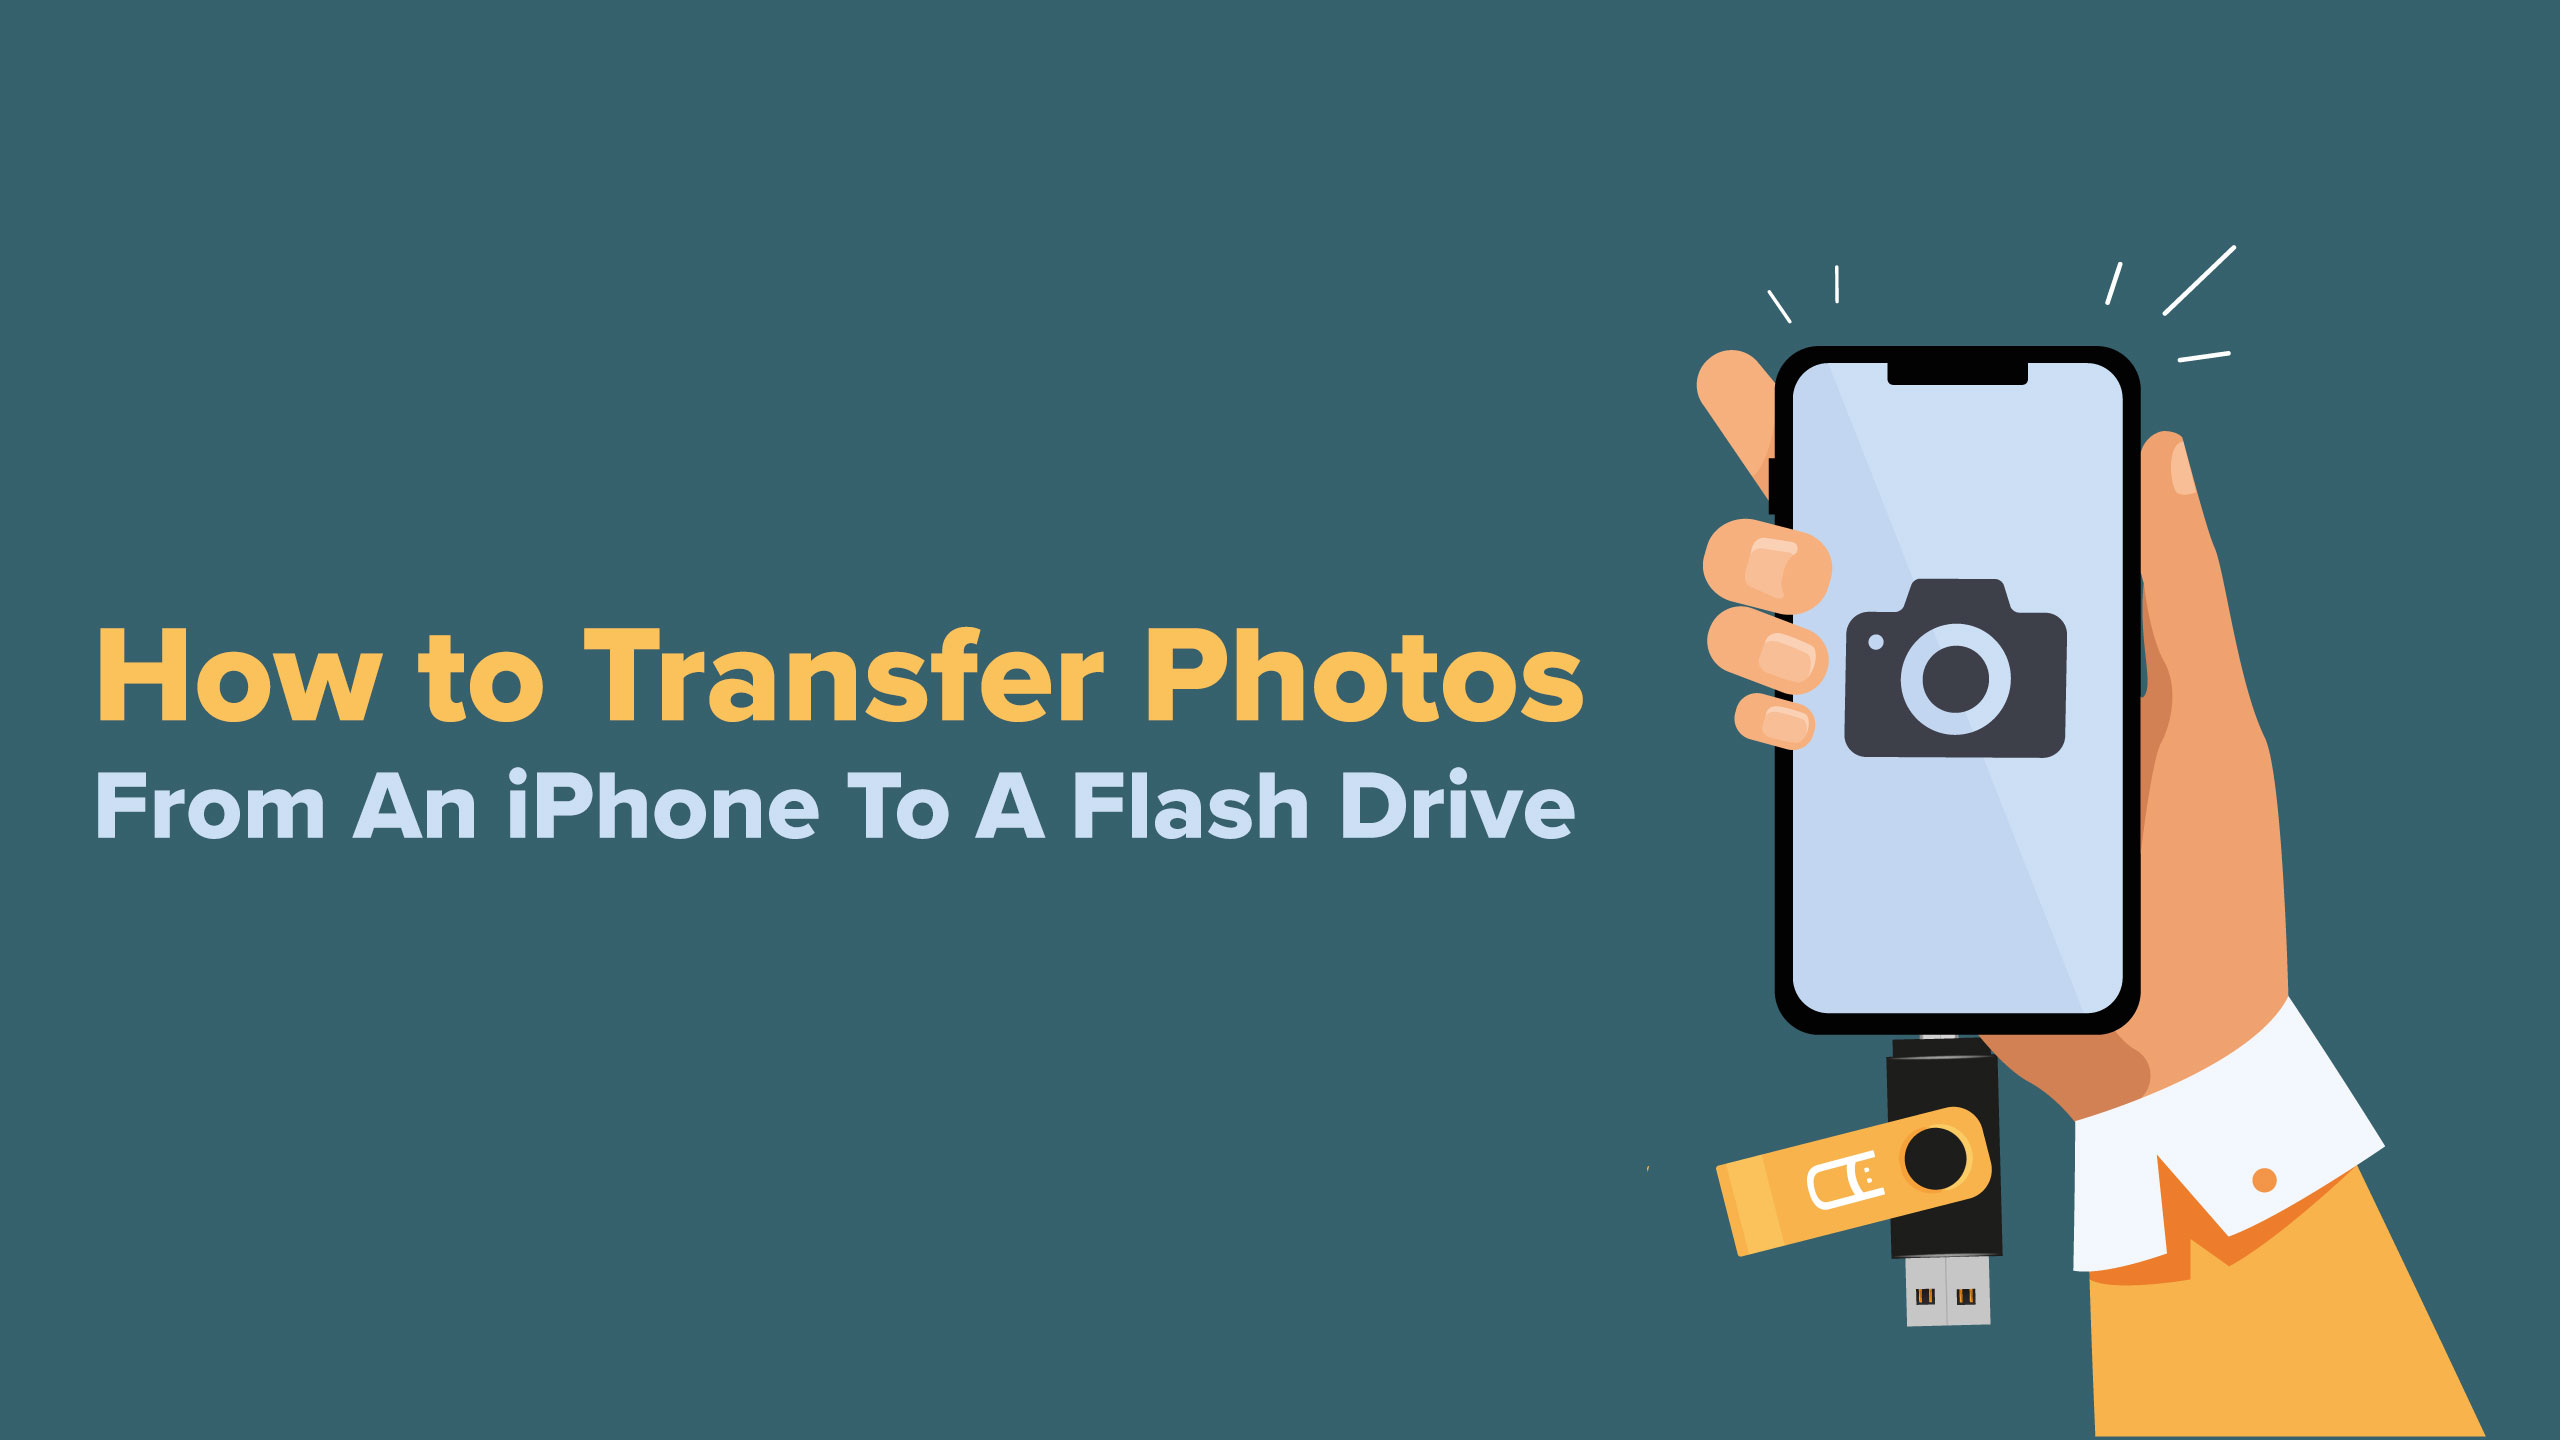
How to Transfer Photos from an iPhone to a Flash Drive
The iPhone collection is well-known for its impressive cameras. After creating a gallery of treasured images, you may wonder how to save each memory forever. Considering the relatively short lifespan of the average smartphone, the best way to preserve your photos is to back them up in another location. This is why it's a good idea to transfer your photos to a flash drive.

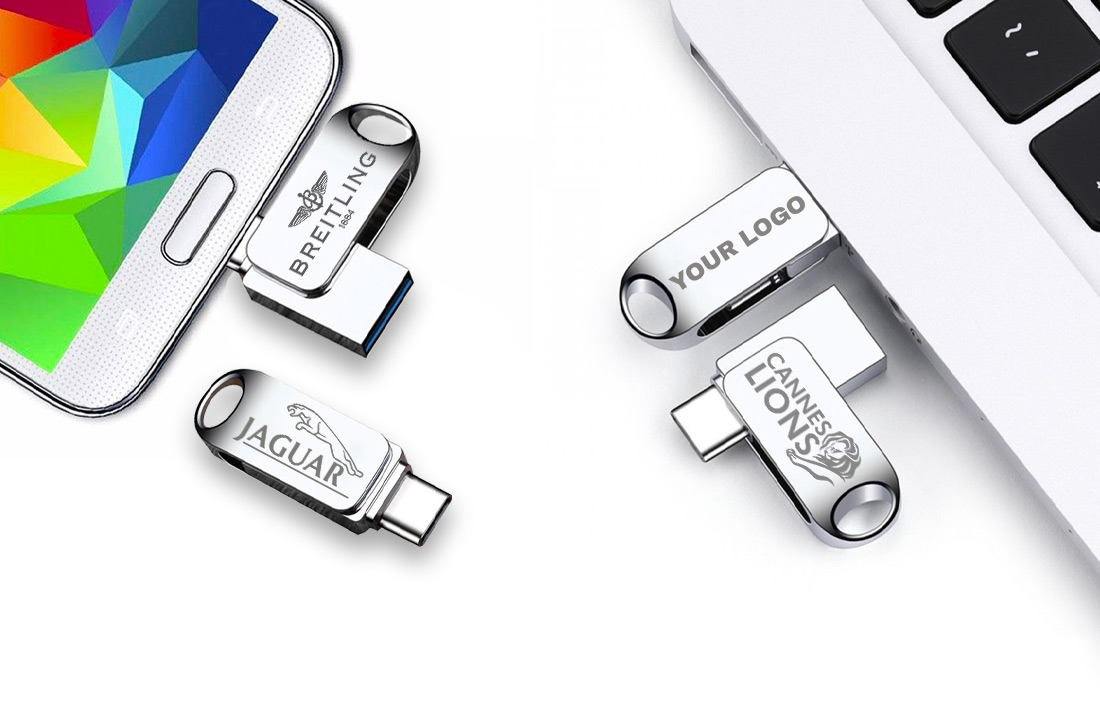
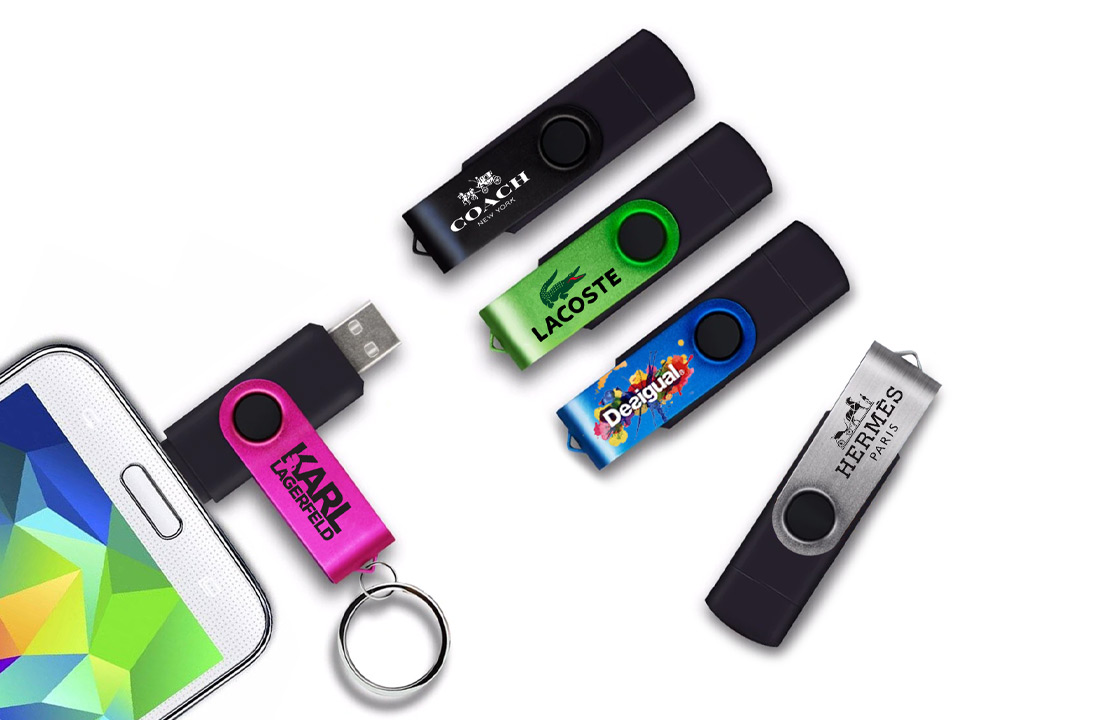
Luckily, Apple has provided several methods for transferring your images to an external storage solution, such as a flash drive. When your business is preparing for an upcoming promotion, consider giving customized flash drives from USB Memory Direct. Your customers will think of you fondly every time they access the drive.
Shop for iPhone Compatible USB Flash Drives!
Option 1: Transfer from iPhone to Flash Drive via Photos App
If you have a PC with Windows 7 or higher, you can use Windows's default photos app to transfer your images to a flash drive or other directory. First, plug in your iPhone and bring up the Photos app. You may need to unlock your iPhone.
You may be asked to trust the computer. Simply tap the trust button that appears. After you click "Import," you'll want to choose "From a USB device," as the PC will treat your iPhone like a USB device. If you don't want to import all the pictures, you can manually uncheck any images you do not wish to transfer.
Click on "Import Selected" to transfer your iPhone photos to the pictures directory on your PC. From there, insert your flash drive into an open slot on your PC. You'll want to create a new folder on the flash drive. Something simple like "iPhone Images" with the month and year will help you stay organized. Now you can copy your newly transferred images to the new folder on your USB stick.
Option 2: Uploading Your Photos to iCloud
iCloud is Apple's proprietary online storage solution that can connect directly to the gallery on your device. If you have enough space in your iCloud, transferring your photos can be simple.
Navigate to the settings tab on your iPhone. Tap on "iCloud" and select the photo tab. Toggle the iCloud Photo Library widget to automatically upload your images to the cloud. This may take a while, depending on the number and size of your pictures. Remember that anyone with an Apple ID has 5 GB of free data. This is more than enough for the average photo gallery. If you want, you can easily purchase additional iCloud space.
Once your photos have successfully moved, log in to iCloud from your computer. Plug in a USB flash drive and navigate to the photos section of Apple's service. Select all the photos you wish to transfer to your USB and click the download button. Select your desired location on the USB stick. You may want to verify that the photos have transferred correctly before deleting the images from the cloud.
Option 3: Use Mac Image Capture
MacBook users can quickly transfer photos using the device's standard image capture functionality. With both your iPhone and USB drive connected to the computer, open the image capture software. Click on your iPhone from the list of devices on the left side of the screen. This brings up your gallery of images.
Select any photos you wish to transfer and look for the "import to" text field at the bottom of the app. Click on this field and select a directory on your flash drive. Then, click "import all" to start the transfer process.
Save Big on Our Lightning and USB-C Flash Drives
Option 4: Access the DCIM Through Windows Explorer
For PC users who like to keep it simple, you can quickly move files around via Windows Explorer. Connect your phone and a flash drive to your PC. Then, navigate to the "This PC" directory.
You should see your iPhone listed among the connected devices. Click on your iPhone and select internal storage. Find the DCIM folder and click on it to access all your photos. Open another Windows Explorer tab and find your flash drive's directory. To transfer your photos, just drag any desired image from your iPhone to the USB flash drive directory to back up your files within seconds.
While this seems the easiest solution, you may encounter problems like the DCIM folder not appearing or showing as empty. If this happens, you may need to check your permission on the iPhone.
Never Lose Your Files Again
The importance of backing up your photos and other precious digital files cannot be understated. Securing your memories and sensitive documents is always well worth the few minutes of effort. The number of options for doing so is growing by the day. Pick the option you are most comfortable with and complete this vital piece of digital housekeeping as soon as possible. Make sure you know which type of USB drive your computer is compatible with and the amount of storage you need to transfer your photos.