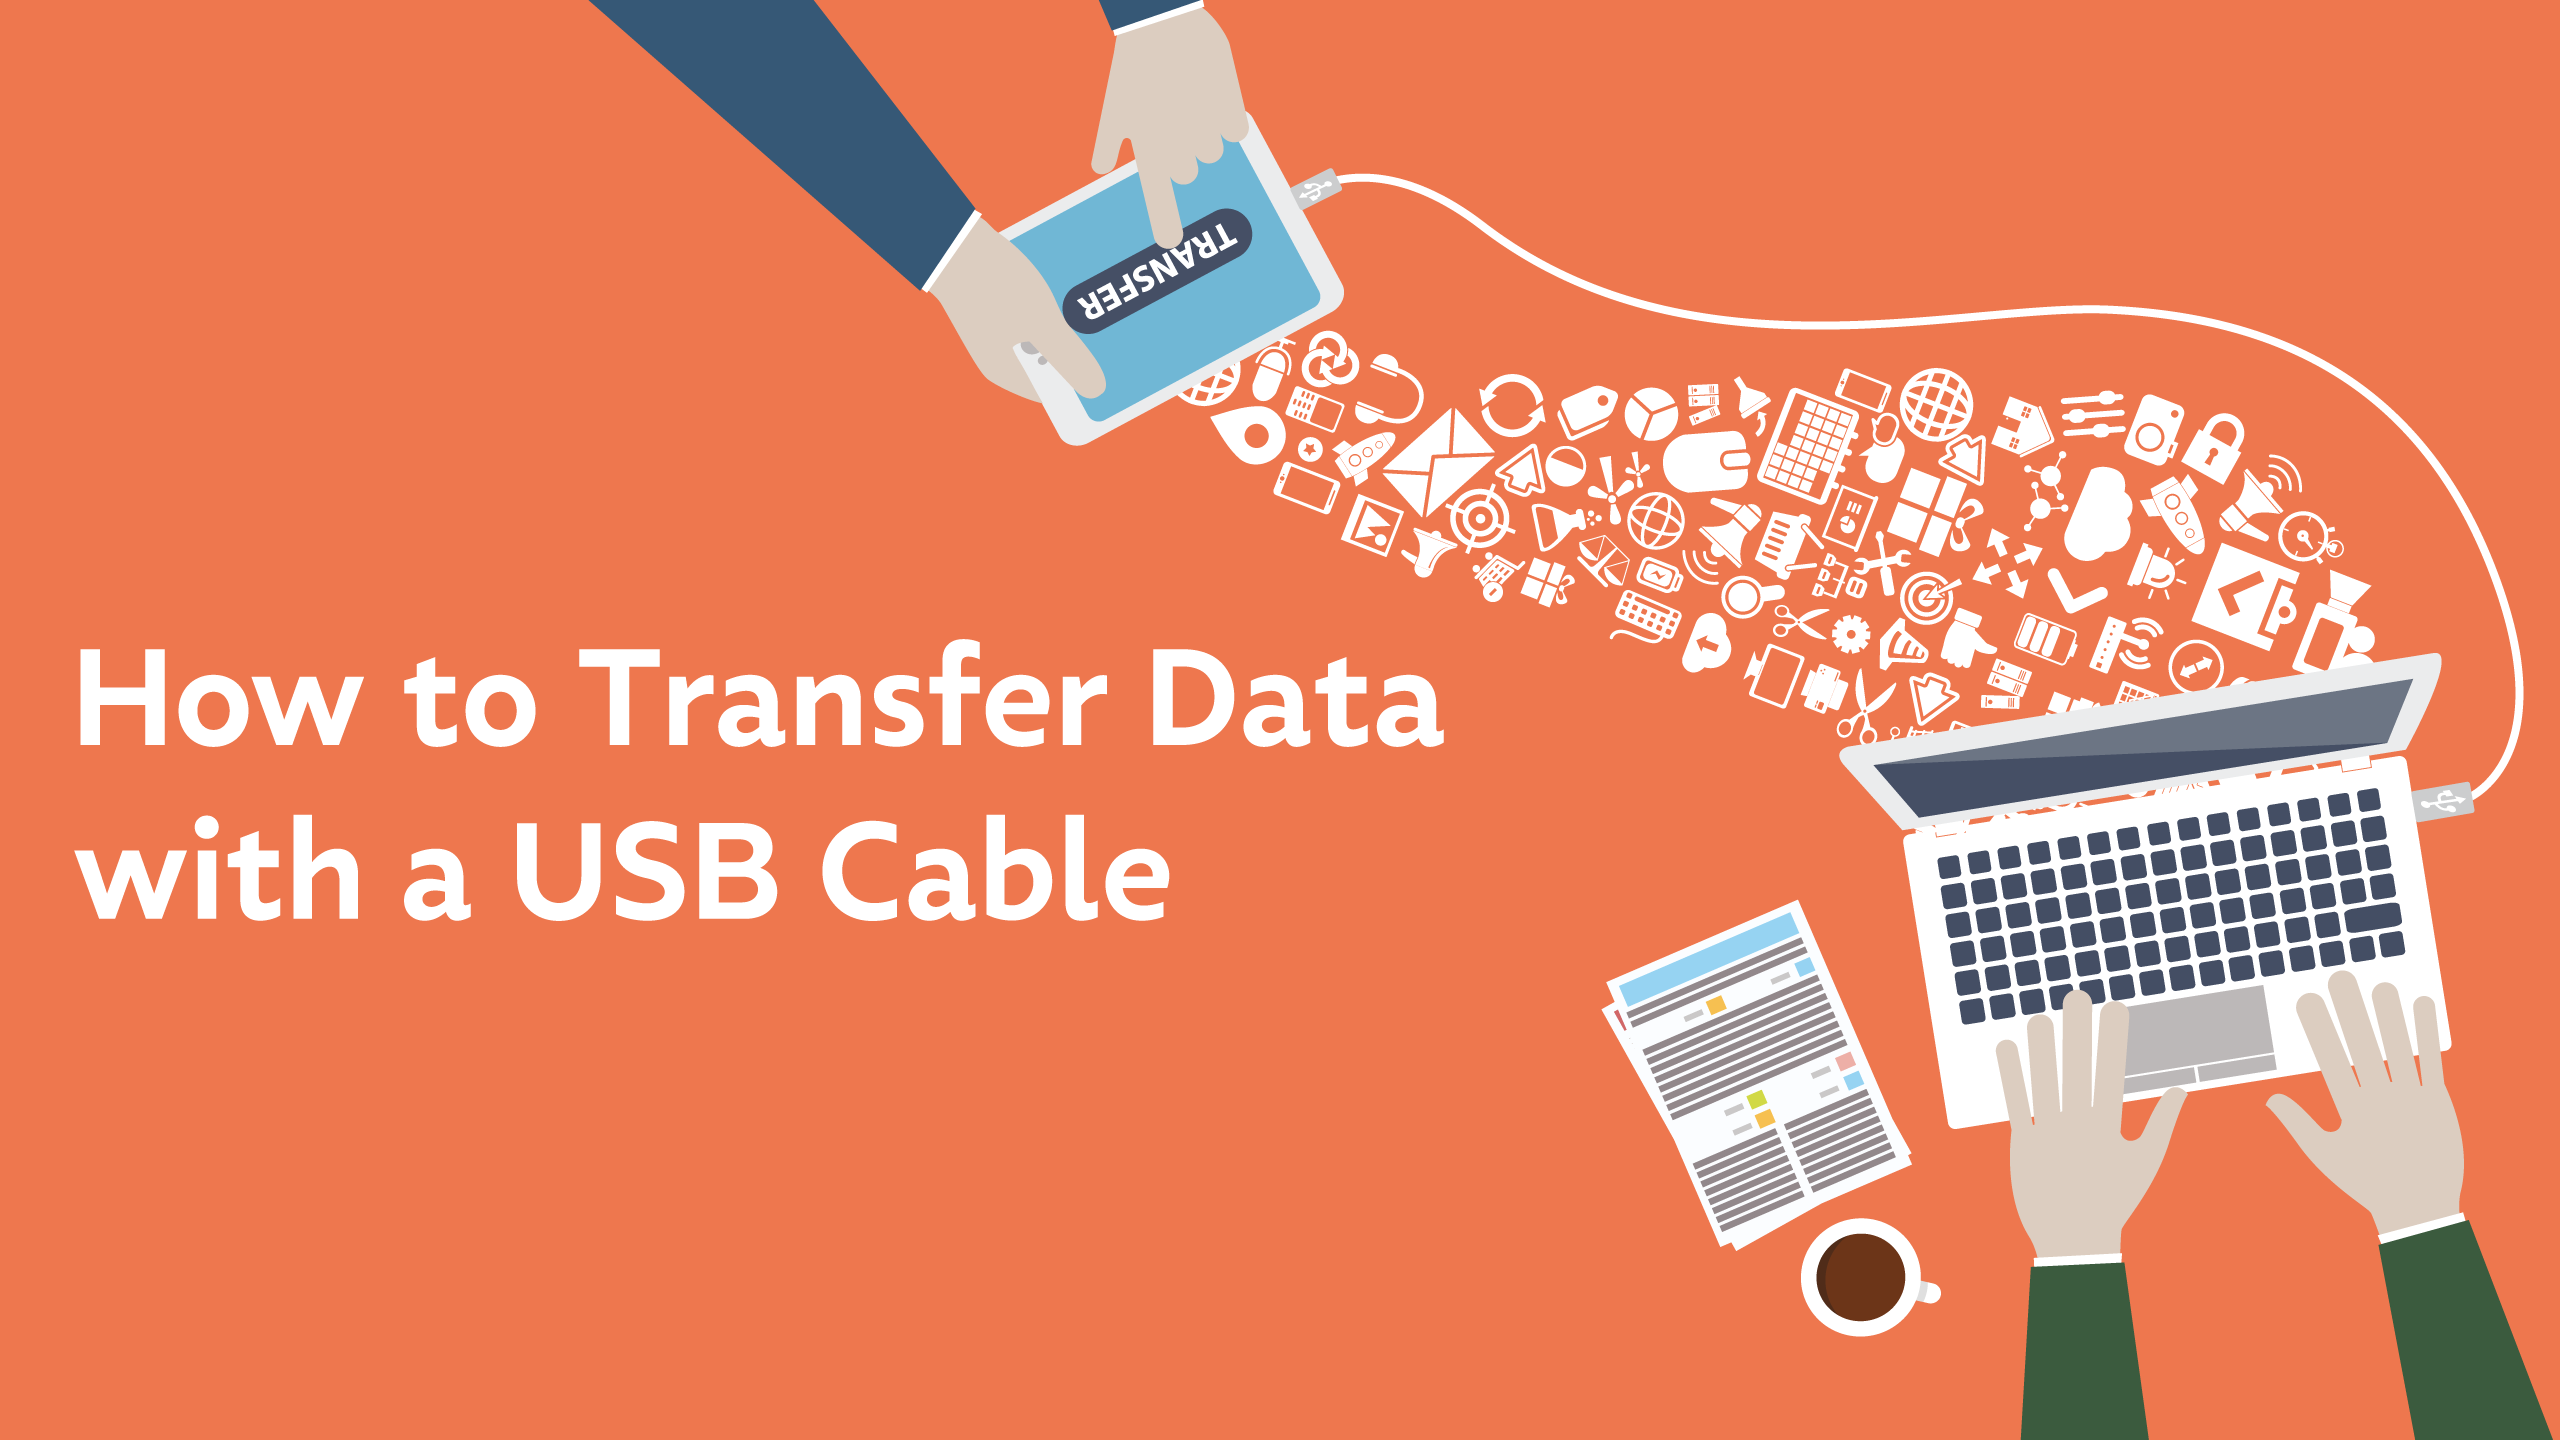
How to Transfer Data with a USB Cable
Transferring data from one device to another has become a common task in the workplace. Whether transferring files between your devices, transferring onto a USB drive, or sharing files with your coworkers, using a USB cable is one of the most popular and reliable methods.
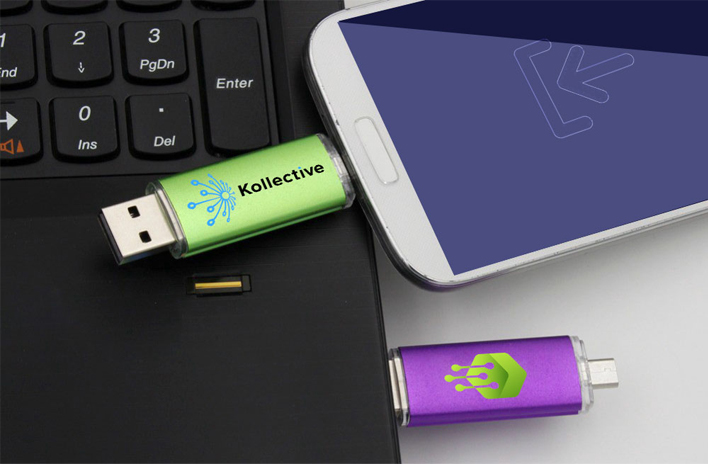
This article will guide you on how to transfer data with a USB cable, including preparing your devices, connecting them, and transferring the data. For storing data, USB Memory Direct offers bulk flash drives in various sizes and shapes. We offer complete customization, making these great promotional items your clients will value.
Transfer Files With Our Custom USB-C Drives
Types of USB
Here, we'll review the main types of USB cables. You'll find further divisions within these categories, such as USB 1.0 or USB 3.0, and further by generation. USB-A and USB-B are also available as micro or mini.
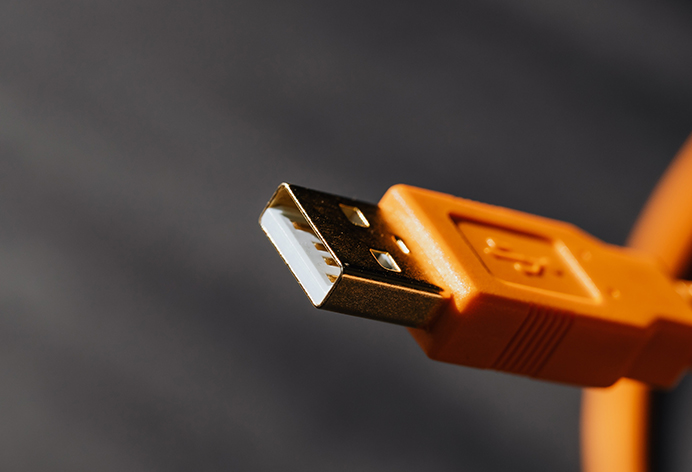
USB Type-A
The USB Type-A is the most common USB connector used in computers and other devices. It has a rectangular connector that can be inserted into a USB port. This type of USB connector is widely used for connecting keyboards, mice, printers, and external hard drives.
USB Type-B
The USB Type-B connector is a square-shaped connector that is commonly used for connecting printers, scanners, and other peripherals. This type of USB connector has two variations: the standard Type-B connector and the Mini-USB Type-B connector.
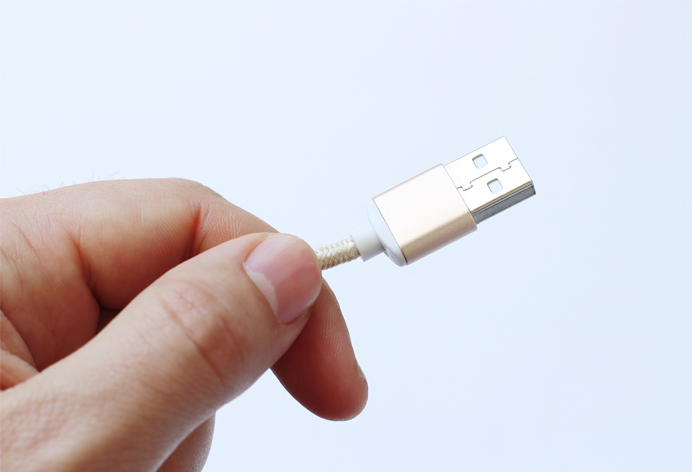
USB Type-C
The USB Type-C connector is a newer, smaller, and reversible connector that is quickly gaining popularity in the market. It is a more versatile connector that can be used for charging, data transfer, and video output. The USB Type-C is gradually replacing other types of USB connectors and is used in the latest mobile phones, laptops, and other devices.
Preparing Your Devices
Before transferring data with a USB cable, you must ensure your devices are ready for the transfer. Here are the steps you can follow to prepare your devices.
Step #1: Update Your Software
Before transferring data, ensure the source and target devices have the latest software updates. This includes the operating system, drivers, and any other relevant software.
Step #2: Clean Your Devices
Remove any unnecessary files, programs, or apps from your devices. This will free up space and speed up the transfer process.
Step #3: Check Compatibility
Ensure that your devices are compatible with one another. Check the USB port type, the USB cable type, and the USB speed of your devices.
Connecting Your Devices
Once you have prepared your devices, it is time to connect them using a USB cable. Connect your device using the tips below.
Step #1: Plug in the USB Cable
Connect one end of the USB cable to the USB port of the source device and the other end to the USB port of the target device.
Step #2: Select Transfer Mode
Depending on the device and operating system, you may need to select the transfer mode on your source device. Some devices may require you to choose between MTP (Media Transfer Protocol) and PTP (Picture Transfer Protocol) modes. MTP is the preferred mode for transferring files, but if you are only transferring photos, PTP may be sufficient.
Step #3: Authenticate Devices
Some devices may require authentication before the transfer process. For example, if you are transferring files from your smartphone to your computer, you may need to enter your smartphone's password or PIN to allow access.
Transferring Data
Now that your devices are connected, you can start transferring data. Here are some steps to follow when transferring data with a USB cable.
Step #1: Select the Files
Choose the files or folders that you want to transfer. You can select multiple files or folders by holding down the Ctrl key (Windows) or the Command key (Mac) while clicking on the files or folders.
Step #2: Copy the Files
Once you have selected the files, right-click on them and select Copy or use the keyboard shortcut Ctrl+C (Windows) or Command+C (Mac). Depending on the setup, you may be able to just drag and drop the files.
Step #3: Paste the Files
Navigate to the destination folder on your target device and right-click on an empty space. Select Paste or use the keyboard shortcut Ctrl+V (Windows) or Command+V (Mac) to paste the files.
Step #4: Monitor Transfer Progress
You can monitor the progress of the transfer by checking the file transfer dialog box or the notification center on your devices. If you transfer large amounts of data, ensure both devices are sufficiently powered. You can use a promotional power bank from USB Memory Direct to ensure that the transfer goes through uninterrupted.
Step #5: Safely Eject Devices
Once the transfer is complete, safely eject your devices to avoid data loss or corruption. On Windows, click the USB icon in the system tray and select Eject. On Mac, drag the USB icon to the Trash.
Conclusion
Transfer critical business information with ease using a USB cable. Following these step-by-step directions will help you make a safe transfer. A USB-C drive from USB Memory Direct is a great way to store data as we offer highly customizable USB drives that fit your business' needs at competitive prices.