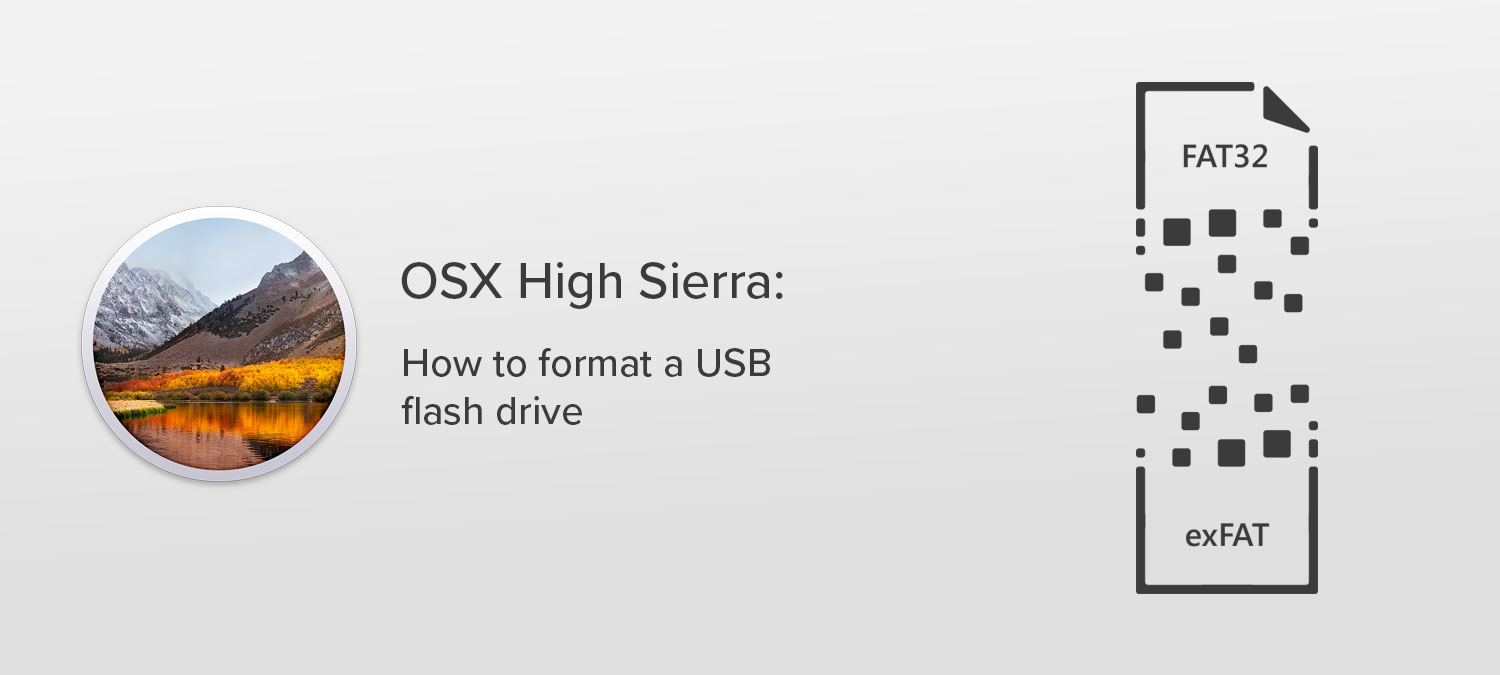
How To Format a USB flash drive on Mac OS X
Apple and its software/devices have always been somewhat notorious for being complex or unnecessarily particular in the name of uniqueness or vision. Fortunately, while formatting your flash drive on a Mac is different than other operating systems it still remains a pretty easy task!
If you don't need any help, then here are the quick steps you can follow to formatting your flash drive. If you need some assistance, we walk you through the process, step-by-step down below.
Warning: Formatting anything will erase all the data contained on that drive. So before doing so, back up your import files!
- Plug in your USB flash Drive to your Mac.
- Launch Disk Utility (built-in application for Macs)
- Select Device, Click Erase to open Erase window
- Select the file system you would like to switch to. If you need more info on file systems, see our blog post about file systems.
- Press 'Erase'
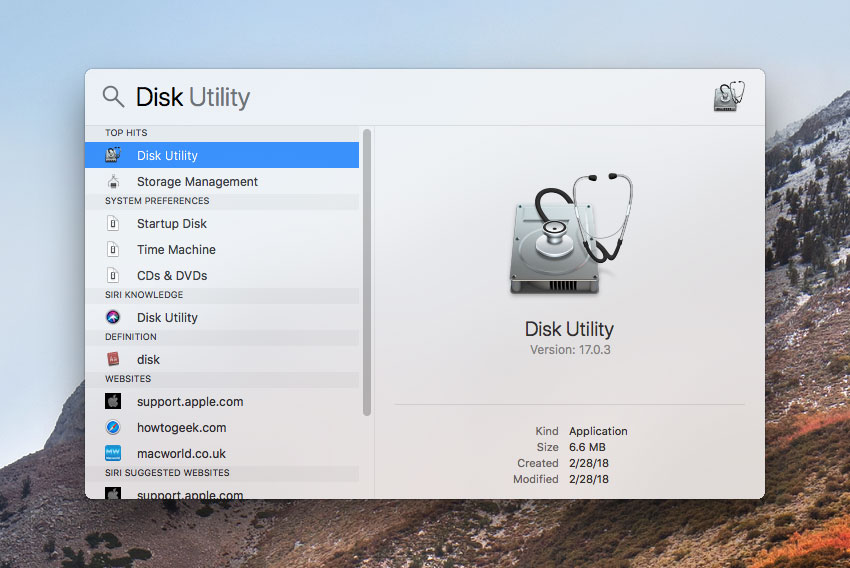
Launching Disk Utility
Disk Utility is a free application all Macs should already be equipped with. It allows you to inspect and manipulate the various memory devices plugged into your computer. From here you can perform multiple special actions like creating partitions on your drives and, of course, formatting your flash drive.
To launch Disk Utility, press "Command" + "Space" to open your Spotlight Search, type "Disk Utility" and press "Enter".
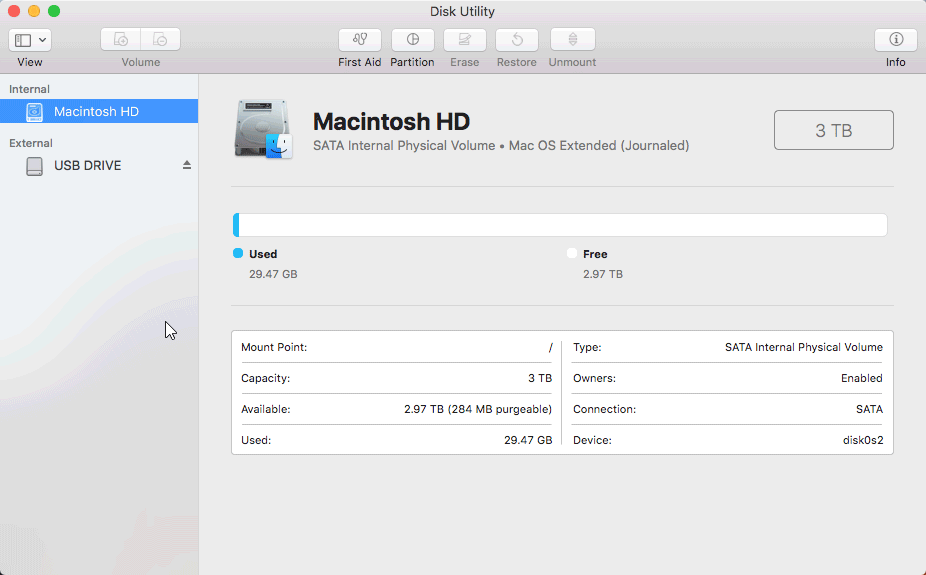
Selecting Device
Now that you've opened Disk Utility, on the left hand side you'll be able to see all the storage devices you currently have access to. Select the USB flash drive that you wish to format from the list on the left.
If you're having trouble finding the appropriate drive on the list, be sure to remove all other forms of removable storage to eliminate extraneous names from the list.
Formatting
Right click your flash drive to open up a list of options including "Erase". Click "Erase" to open a small window with a few options. From this menu you'll be able to select the file system you would like your flash drive to use after it's been formatted. As I mentioned, we recommend using exFat for updated specs with a wide range of compatible uses however other options are available should you need them. Select your desired file type from the drop-down choices. Nothing else on this screen needs to be altered.
Once you've ensured that you have the right file system, Click, "Erase" at the bottom of the window. Allow a few moments for the process to finish. Disk Utility will notify you once the process is finished and your drive has been formatted.
The process is now complete; congratulations