How To Download Music to a Flash Drive: 4 Helpful Tips
Using a flash drive to store songs is an underappreciated way to mobilize your music. You can use a USB drive to share music with your friends or transfer songs between your desktop and laptop. Many modern car stereo systems also support direct music playback from a flash drive, which can come in handy when your phone battery is low. If you're a musician, you can even use a custom USB drive to release your new album in your favorite lossless format, along with some cool digital bonuses.
Here are a few tips on how to download music to a flash drive quickly and seamlessly.
Step 1: Determine if You Need Windows or Mac Directions
Transferring music to a flash drive differs depending on your operating system. If you have one of the latest Windows versions, continue reading the Windows Instructions section. If you use a Mac, skip the Windows Instructions section, and go straight to the Mac Instructions.
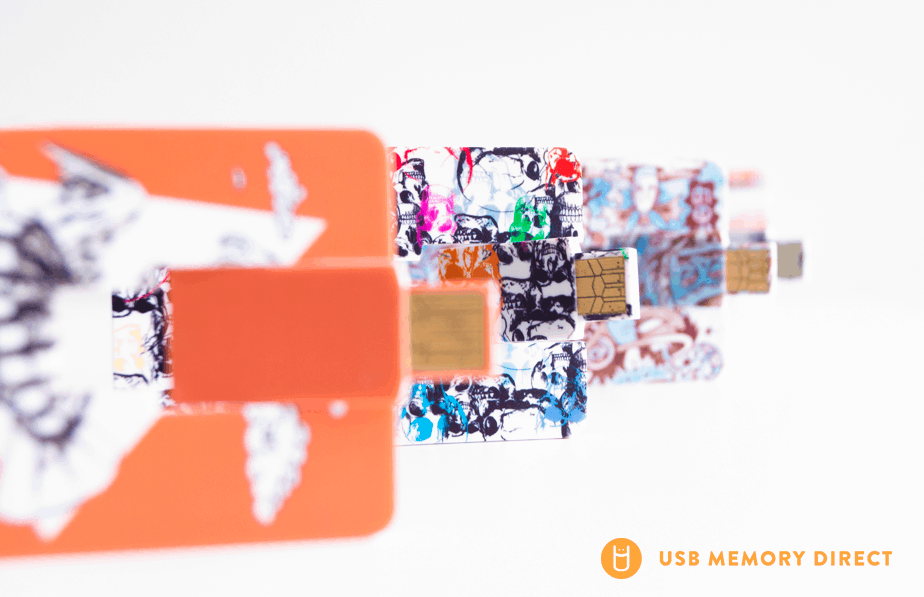
Buy Bulk Flash Drives to Share Your Music
Windows Instructions
Step 2: Insert the USB Into the Port
Start by inserting your flash drive into an available USB port in your Windows computer. When Windows detects the drive, it will immediately play the default sound and display an AutoPlay popup window showing the letter Windows has assigned your drive, usually (D:) or (E:), and some options to work with it.
Open a File Explorer window from the AutoPlay popup or Start menu, and go to your flash drive's root folder. Here, you can see if the drive already has files and how much free space is available. Leave this window open in the background for now.
Step 3: Drag Songs From Your Music Library in File Explorer
Open another File Explorer window, and navigate to the folder where you keep your music. Select the files or folders you want to copy to the flash drive. You can hold Ctrl while you click to select multiple files or folders or use Ctrl + A to select all the files and folders in the directory at once. Make sure the total size of your selected items is less than the free space available on your flash drive.
To get the selected files to your flash drive, you can copy and paste them or click and drag them from one File Explorer window to the other. One helpful tip is to right-click on the files you selected, click Send To in the menu that pops up, and then select your flash drive from the dropdown menu to automatically send them over.
Step 4: Eject Your Flash Drive
Once the transfer is complete, another helpful tip is to right-click on your USB drive in File Explorer and select Eject from the popup menu before removing the drive. This will make sure all files are properly transferred and minimize the possibility of data corruption.
Mac Instructions
Step 2: Insert the USB Into the Port
Find an empty USB port on your Mac, and plug in your USB drive. An icon representing the drive should appear on the right of your desktop. Click on the icon to open your flash drive in Finder. Leave that Finder window while selecting the music you want to transfer.
Step 3: Drag Songs From Your Music Library in iTunes or Finder
If you're comfortable with the iTunes interface, open iTunes, and select all the songs and albums in your library that you want to put on the flash drive. You can select all your music at once using CMD + A or hold down CMD while clicking to select multiple songs and albums.
If iTunes isn't your thing, open another Finder window, and find your music folder. Use the above keyboard shortcuts to select the files and folders you want to download to your flash drive.
Once you have all the necessary items selected in iTunes or Finder, click and hold on to your selection, and then drag the selection over to the first Finder window displaying your flash drive. You can also use CMD + C to copy the selection to your clipboard, and then go to your flash drive's Finder window and press CMD + V to paste the clipboard's contents to the flash drive.
Step 4: Eject the USB Drive
One important final tip is to eject your flash drive when you're finished. Drag its desktop icon to your Trash before removing it from the USB port to help keep your files from getting corrupted.
Browse High-Quality USB-C Drives for Sharing High-Quality Music
Transfer Music in a Flash
When sharing high-quality music, it's crucial to use a high-quality flash drive, like what we offer at USB Memory Direct. USB 3.0 drives are quicker and have the best quality than older models, and USB-C drives are the highest-quality available, although they're still a bit expensive.
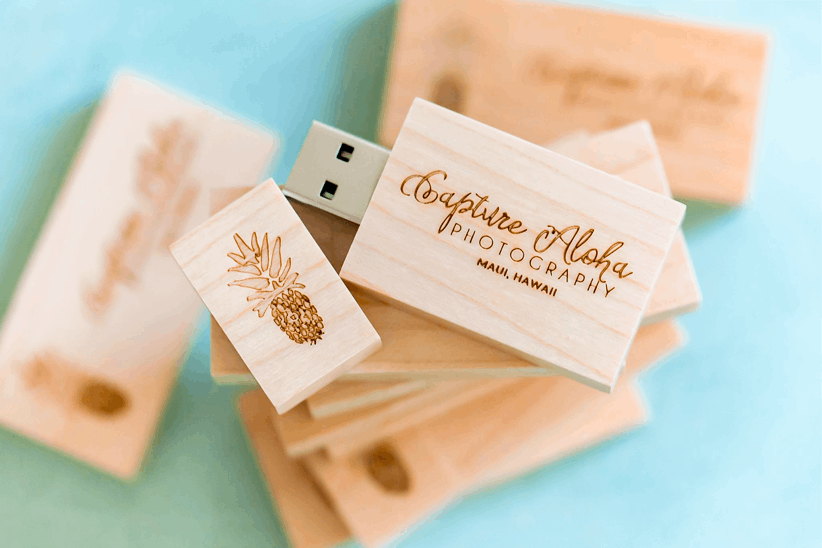
If you want the recipient to remember you, you can put your music on our custom flash drives. These come with a lifetime warranty and free shipping to the U.S. and Canada. You can get a fun variety of exterior and interior customization options, including printing or engraving the surface on both sides with your logo, art, or text in color.